Introduction
Adjust Default Zoom Levels for Navigational Layers
In this topic, you learn how to change the default settings for zoom levels for the different navigational layers to use your preferred zoom level.
We estimate that this will take 5 minutes to complete.
Using Default Zoom Level Settings to Control the Display of Navigation Information on the Map
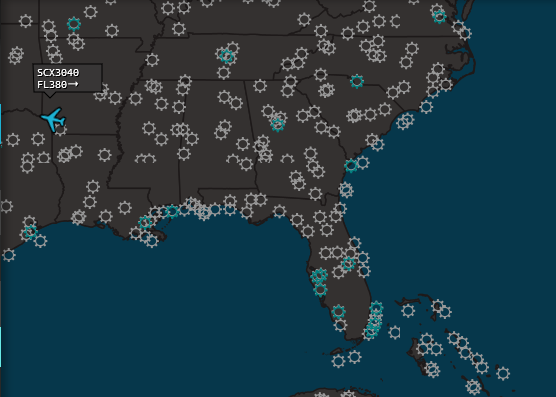
As you work with adding navigational information to the N-Tracking map, you will find that different layers work better at different map zoom levels.
For example, you don’t need to view the entire continental United States, which appears at the 500 nm zoom level. This level of detail is not necessary if you only want to verify the name of a waypoint over a specific state.
N-Tracking includes defaults for the zoom levels at which the various navigational layers display. You can set those default parameters differently.
Detailed explanation
To begin your exploration of adjusting default zoom levels used with the various navigational information layers,
let's get oriented:
- The map is focused on the United States.
- The map zoom level is 200 nm.
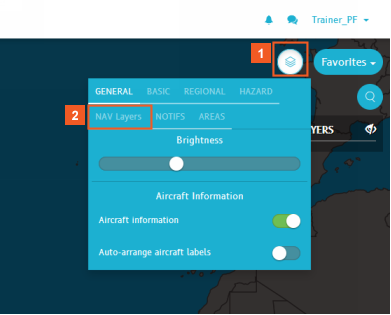
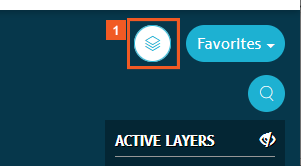
![]() Click the Layers button.
Click the Layers button.
Access the Navigational layers in the Layers pane.
![]() Click the NAV Layers tab.
Click the NAV Layers tab.
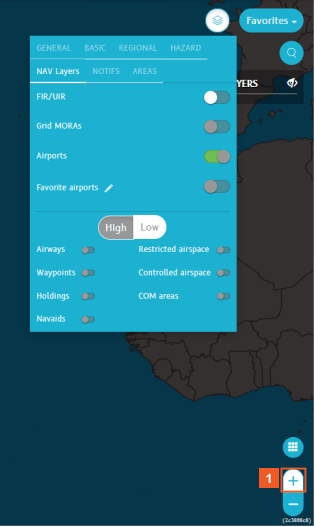
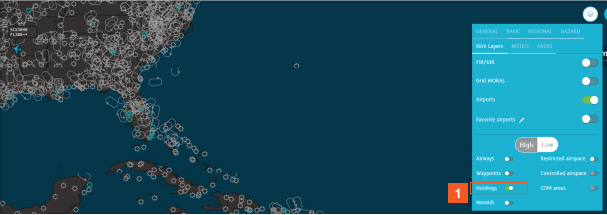
At the 500 nm zoom level, you can choose to enable the FIR/UIR slider. All other sliders are inactive, as indicated by their gray slider "thumb". This means you cannot enable those navigational layers at this zoom level.
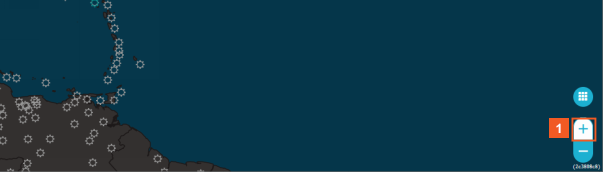
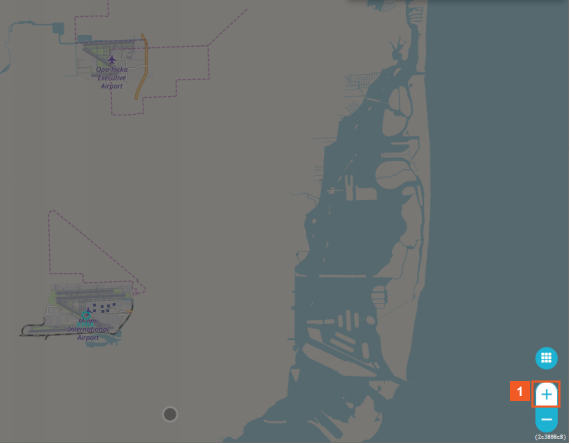
Zoom in to the 200 nm level.
![]() Click the Zoom in button.
Click the Zoom in button.
At the 200 nm zoom level, icons indicating airports ![]() and favorite airports
and favorite airports ![]() display on the map. Review the settings for the Navigation layers again.
display on the map. Review the settings for the Navigation layers again.
![]() Click the Layers button.
Click the Layers button.
At the 200 nm zoom level, you can choose to enable (or disable) all the navigational layers whose "thumbs" show in white on the NAV layers pane.
Next, let's learn how to change that default setting if your preference is to enable the different navigation information layers at higher or lower zoom levels.
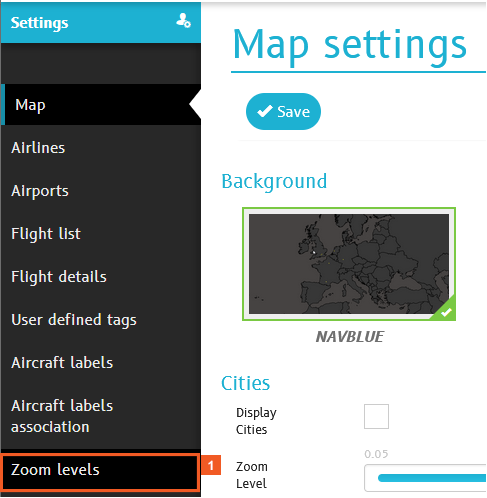
Access the User Settings menu to make these changes.
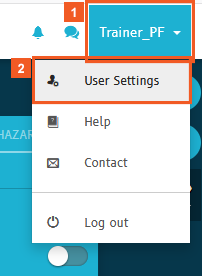
![]() Click the Username (Trainer_PF) dropdown button.
Click the Username (Trainer_PF) dropdown button.
![]() Click the User Settings menu item.
Click the User Settings menu item.
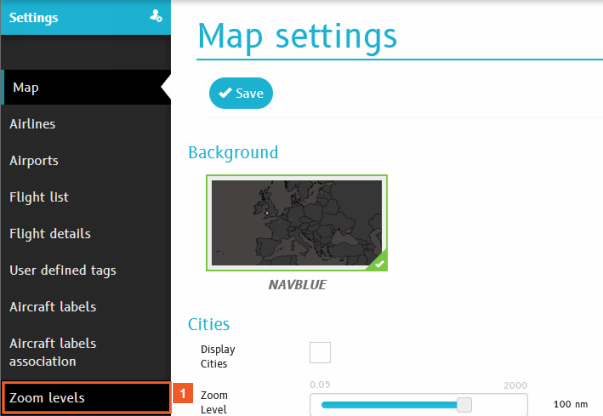
![]() Click the Zoom levels menu button.
Click the Zoom levels menu button.
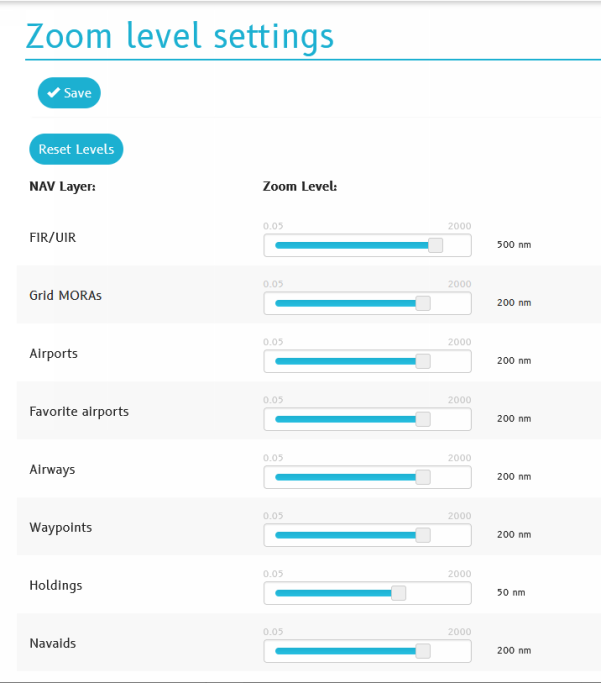
Review the default zoom levels shown on the Zoom level settings page and think about the zoom levels that work best for you to display (or not) the different navigational elements on the map.
By default, FIR/UIRs become available for use at 500 nm zoom level, while you most of the other layers can be enabled or disabled at 200 nm. You can change these settings using the sliders according to your requirements.
Scroll down to be sure to view all the settings on this page.
![]() Click the vertical scroll bar.
Click the vertical scroll bar.
Click and drag the Holdings slider to the right (towards 2000) to make it usable at a higher zoom level (for this example, 200 nm).
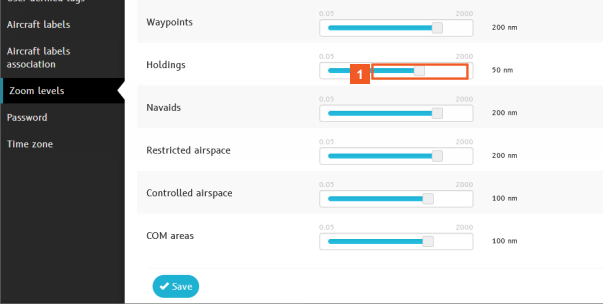
![]() Click and drag the Holdings slider.
Click and drag the Holdings slider.

HINT
Always remember to save your settings before you leave this page.
![]() Click the Save button.
Click the Save button.
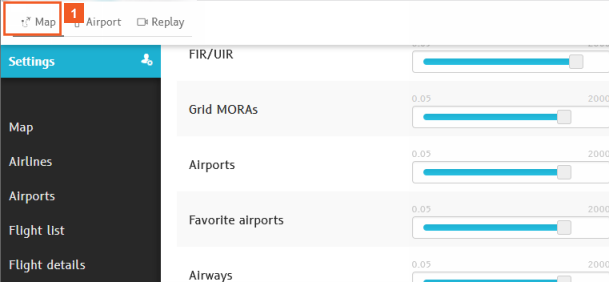
Now,navigate to the map to see the impact of your change.
![]() Click the Map tab.
Click the Map tab.
In this example, you're currently at the 200 nm zoom level.
Access the NAV layers again.
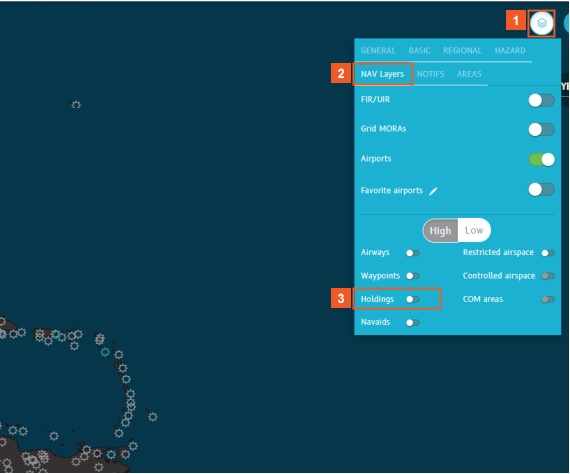
![]() Click the Layers button.
Click the Layers button.
![]() Click the NAV Layers tab.
Click the NAV Layers tab.
Now you can enable the Holdings slider at the 200 nm zoom level.
Go ahead and enable the display.
![]() Click the Holdings slider.
Click the Holdings slider.
After you review the results (icons for the holding patterns display on the map), click the slider again to remove Holdings from the map.
![]() Click the Holdings slider.
Click the Holdings slider.
Access the Zoom level settings again from the User Settings menu.

![]() Click the Username (Trainer_PF) dropdown button.
Click the Username (Trainer_PF) dropdown button.
![]() Click the User Settings menu item.
Click the User Settings menu item.
![]() Click the Zoom levels menu button.
Click the Zoom levels menu button.
To set the zoom level options back to the system default, click Reset Levels.
Otherwise, make the adjustments you want to make the different navigational elements usable at zoom levels that best suit your operations.

![]() Click the Reset Levels button.
Click the Reset Levels button.
REMINDER
Always save your changes.
![]() Click the Save button.
Click the Save button.
SUCCESS
Congratulations! You can now change zoom level settings to make the different navigational layers usable at different map zoom levels.
Display the map again and let's review how some other navigation information works at other zoom levels.

![]() Click the Map tab.
Click the Map tab.
![]() Click the Zoom in button.
Click the Zoom in button.
Zoom in to the 20 nm zoom level.
In your operational environment, you can zoom in by clicking the Zoom in button as many times as needed to reach the 20 nm level or by using your mouse scroll wheel.
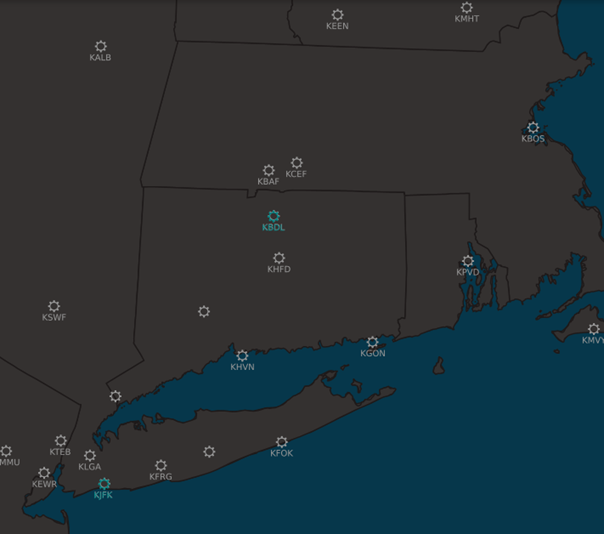
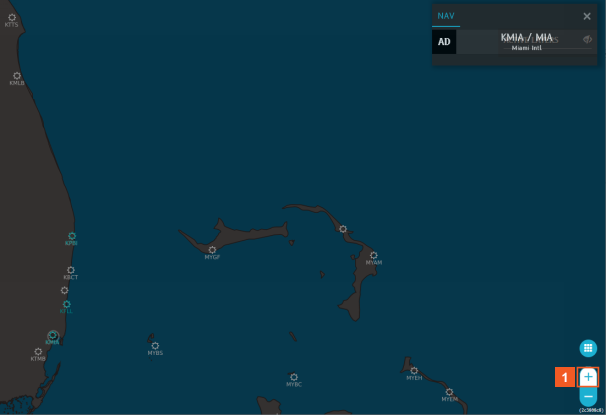
At the 20 nm zoom level, IATA codes associated with airports display on the map automatically.
Optionally, click the icon for the KMIA airport in southern Florida.

![]() Click the KMIA airport icon.
Click the KMIA airport icon.
The NAV pane displays information about the airport. You can click AD to view more details.
![]() Click the Zoom in button.
Click the Zoom in button.
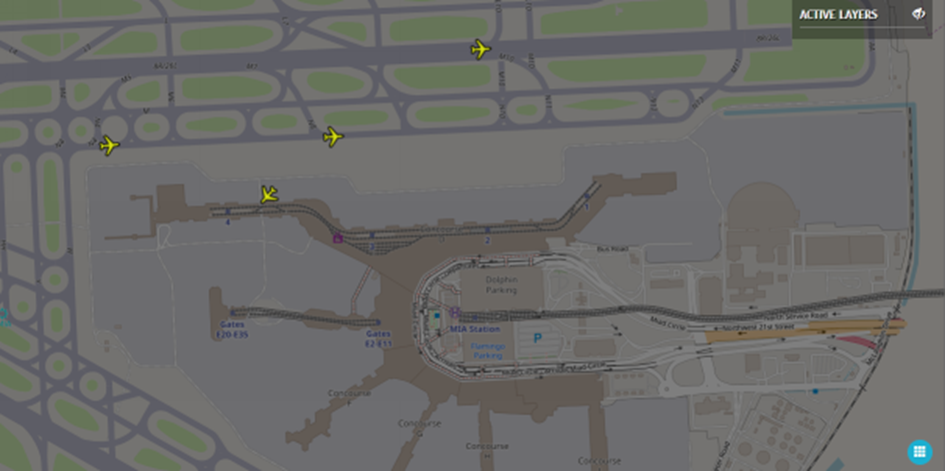
Zoom in more -- to the 2 nm level.
For airlines whose subscription includes surface tracking, at a zoom of 2 nm (or approximately 2 km), airport maps display on the map if your N-Tracking Administrator enables the Enable Airport Surface Map option.
For some airports, you may need to zoom in further than 2 nm.
For this example, zoom in again, as many times as needed to view traffic around the airport gates.
![]() Click the Zoom in button.
Click the Zoom in button.
The airport map displays and you can see the location of aircraft on various runways or at gates (as applicable). Depending on activity at or around the airport, you will be able to see aircraft taking off and about to land. (Use a higher zoom level to view incoming aircraft.)
For more details, consult the topic, Surface Tracking in the Airports section.
HINT
For airlines using the metric for the map scale, the same effect applies at the 2 km zoom level.
To further clarify the zoom level at which you can expect to see airport maps on the main map: Airports located closest to the equator are more likely to display at the 2 km / 2 nm zoom level. For airports located increasingly north of the equator, you may have to zoom in more.